Note
Access to this page requires authorization. You can try signing in or changing directories.
Access to this page requires authorization. You can try changing directories.
Azure Kubernetes Fleet Manager Automated Deployments can be used to build and deploy an application from a code repository to one or more AKS cluster in a fleet. Automated deployments simplify the process of setting up a GitHub Action workflow to build and deploy your code. Once connected, every new commit you make runs the pipeline.
Automated Deployments build on draft.sh. When you create a new deployment workflow, you can use an existing Dockerfile, generate a Dockerfile, use existing Kubernetes manifests, or generate Kubernetes manifests. The generated manifests are created with security and resiliency best practices in mind.
Important
Azure Kubernetes Fleet Manager preview features are available on a self-service, opt-in basis. Previews are provided "as is" and "as available," and they're excluded from the service-level agreements and limited warranty. Azure Kubernetes Fleet Manager previews are partially covered by customer support on a best-effort basis. As such, these features aren't meant for production use.
Prerequisites
- A GitHub account with the application to deploy.
- If you don't have an Azure trail subscription, create a trial subscription before you begin.
- Read the conceptual overviews of Automated Deployments and resource propagation to understand the concepts and terminology used in this article.
- A Kubernetes Fleet Manager with a hub cluster and member clusters. If you don't have one, see Create an Azure Kubernetes Fleet Manager resource and join member clusters by using the Azure CLI.
- The user completing the configuration has permissions to the Fleet Manager hub cluster Kubernetes API. For more information, see Access the Kubernetes API for more details.
- A Kubernetes namespace already deployed on the Fleet Manager hub cluster.
Bring your application source code
Find your Azure Kubernetes Fleet Manager and start Automated Deployments configuration.
- In the Azure portal, search for Kubernetes Fleet Manager in the top search bar.
- Select Kubernetes fleet manager in the search results.
- Select your Azure Kubernetes Fleet Manager from the resource list.
- From the Fleet Manager service menu, under Fleet resources, select Automated deployments.
- Select + Create in the top menu. If this deployment is your first, you can also select Create in the deployment list area.
Connect to source code repository
Create a workflow and authorize it to connect to the desired source code repository and branch. Complete the following details on the Repository tab.
- Enter a meaningful name for the workflow in the Workflow name field.
- Next, select Authorize access to authorize a user against GitHub to obtain a list of repositories.
- For Repository source select either:
- My repositories for repositories the currently authorized GitHub user owns, or;
- All repositories for repositories the currently authorized GitHub user can access. You need to select the Organization which owns the repository.
- Choose the Repository and Branch.
- Select the Next button.
Specify application image and deployment configuration
To prepare an application to run on Kubernetes, you need to build it into a container image which you store in a container registry. A Dockerfile provides instructions on how to build the container image. If your source code repository doesn't already have a Dockerfile, Automated Deployments can generate one for you.
If your code repository already has a Dockerfile, you can use it to build the application image.
- Select Existing Dockerfile for the Container configuration.
- Select the Dockerfile from your repository.
- Enter the Dockerfile build context to pass the set of files and directories to the build process (typically the same folder as the Dockerfile). These files are used to build the image, and they're included in the final image, unless they're ignored through inclusion in a
.dockerignorefile. - Select an existing Azure Container Registry. This registry is used to store the built application image. Any AKS cluster that can receive the application must be given
AcrPullpermissions on the Registry. - Set the Azure Container Registry image name. You must use this image name in your Kubernetes deployment manifests.
Choose the Kubernetes manifest configuration
An application running on Kubernetes consists of many Kubernetes primitive components. These components describe what container image to use, how many replicas to run, if there's a public IP required to expose the application, etc. For more information, see the official Kubernetes documentation. If your source code repository doesn't already have Kubernetes manifests, Automated Deployments can generate them for you. You can also choose an existing Helm chart.
Warning
Don't choose the fleet-system or any of the fleet-member namespaces as these are internal namespaces used by Fleet Manager and can't be used to place your application.
If your code repository already has a Kubernetes manifest, you can select it to control what workload is deployed and configured by a cluster resource placement.
- Select Use existing Kubernetes manifest deployment files for the deployment options.
- Select the Kubernetes manifest file or folder from your repository.
- Select the existing Fleet Manager Namespace to stage the workload in.
- Select the Next button.
Review configuration
Review the configuration for the repository, image, and deployment configuration.
Select Next to start the process which performs these actions:
- Create federated credentials to allow the GitHub Action to:
- Push the built container image to the Azure Container Registry.
- Stage the Kubernetes manifests into the selected namespace on the Fleet Manager hub cluster.
- Create a pull request on the code repository with any generated files and the workflow.
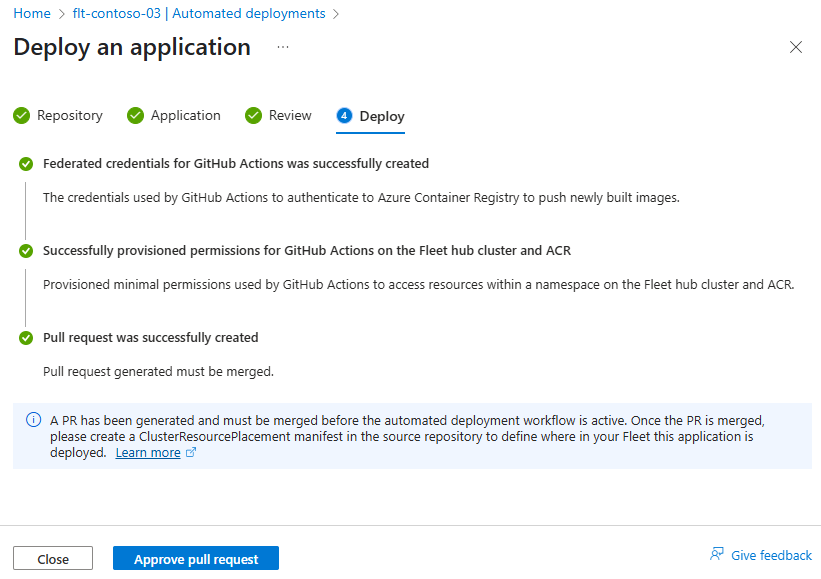
Setup takes a few minutes, so don't navigate away from the Deploy page.
Review and merge pull request
When the Deploy stage finishes, select the Approve pull request button to open the generated pull request on your code repository.
Note
There's a known issue with the naming of the generated pull request where it says it's deploying to AKS. Despite this incorrect name, the resulting workflow does stage your workload on the Fleet Manager hub cluster in the namespace you selected.
- Review the changes under Files changed and make any desired edits.
- Select Merge pull request to merge the changes into your code repository.
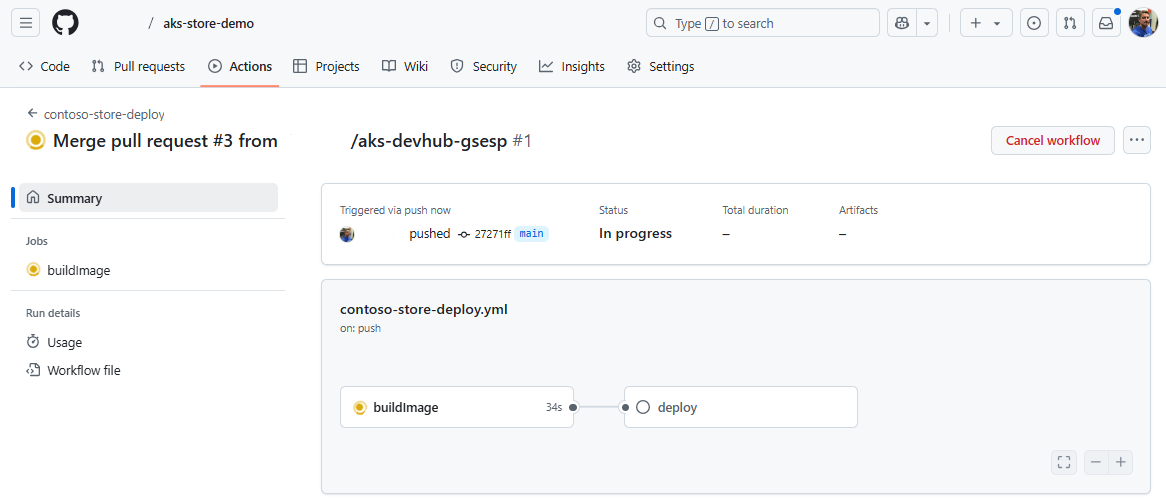
Merging the change runs the GitHub Actions workflow that builds your application into a container image and stores it in the selected Azure Container Registry.
Check the generated resources
After the pipeline is completed, you can review the created container image on the Azure portal by locating the Azure Container Registry instance you configured and opening the image repository.
You can also view the Fleet Manager Automated Deployment configuration. Selecting the workflow name opens GitHub on the GitHub Action.
Finally, you can confirm the expected Kubernetes resources are staged on the Fleet Manager hub cluster.
az fleet get-credentials \
    --resource-group ${GROUP} \
    --name ${FLEET}
kubectl describe deployments virtual-worker --namespace=contoso-store
Output looks similar to the below. The replicas of 0 is expected as workloads aren't scheduled on the Fleet Manager hub cluster. Make sure that the Image property points at the built image in your Azure Container Registry.
Name:                   virtual-worker
Namespace:              contoso-store
CreationTimestamp:      Thu, 24 Apr 2025 01:56:49 +0000
Labels:                 workflow=actions.github.com-k8s-deploy
                        workflowFriendlyName=contoso-store-deploy
Annotations:            <none>
Selector:               app=virtual-worker
Replicas:               1 desired | 0 updated | 0 total | 0 available | 0 unavailable
StrategyType:           RollingUpdate
MinReadySeconds:        0
RollingUpdateStrategy:  25% max unavailable, 25% max surge
Pod Template:
  Labels:  app=virtual-worker
  Containers:
   virtual-worker:
    Image:      contoso03.azurecr.io/virtual-worker:latest
    Port:       <none>
    Host Port:  <none>
    Limits:
      cpu:     2m
      memory:  20Mi
    Requests:
      cpu:     1m
      memory:  1Mi
    Environment:
      MAKELINE_SERVICE_URL:  http://makeline-service:3001
      ORDERS_PER_HOUR:       100
    Mounts:                  <none>
  Volumes:                   <none>
  Node-Selectors:            kubernetes.io/os=linux
  Tolerations:               <none>
Events:                      <none>
Define cluster resource placement
During preview, to configure placement of your staged workload on to member clusters you can follow these steps.
In the source code repository for your application, create a folder in the repository root called fleet.
Create a new file
deploy-contoso-ns-two-regions.yamlin the fleet folder and add the contents shown. This sample deploys thecontoso-storenamespace across two clusters that must be in two different Azure regions.apiVersion: placement.kubernetes-fleet.io/v1 kind: ClusterResourcePlacement metadata: name: distribute-virtual-worker-two-regions spec: resourceSelectors: - group: "" kind: Namespace version: v1 name: contoso-store policy: placementType: PickN numberOfClusters: 2 topologySpreadConstraints: - maxSkew: 1 topologyKey: region whenUnsatisfiable: DoNotScheduleModify the GitHub Action workflow file, adding a reference to the CRP file.
DEPLOYMENT_MANIFEST_PATH: |
  ./virtual-worker.yaml
  ./fleet/deploy-contoso-ns-two-regions.yaml
Commit the new CRP manifest and updated GitHub Action workflow file.
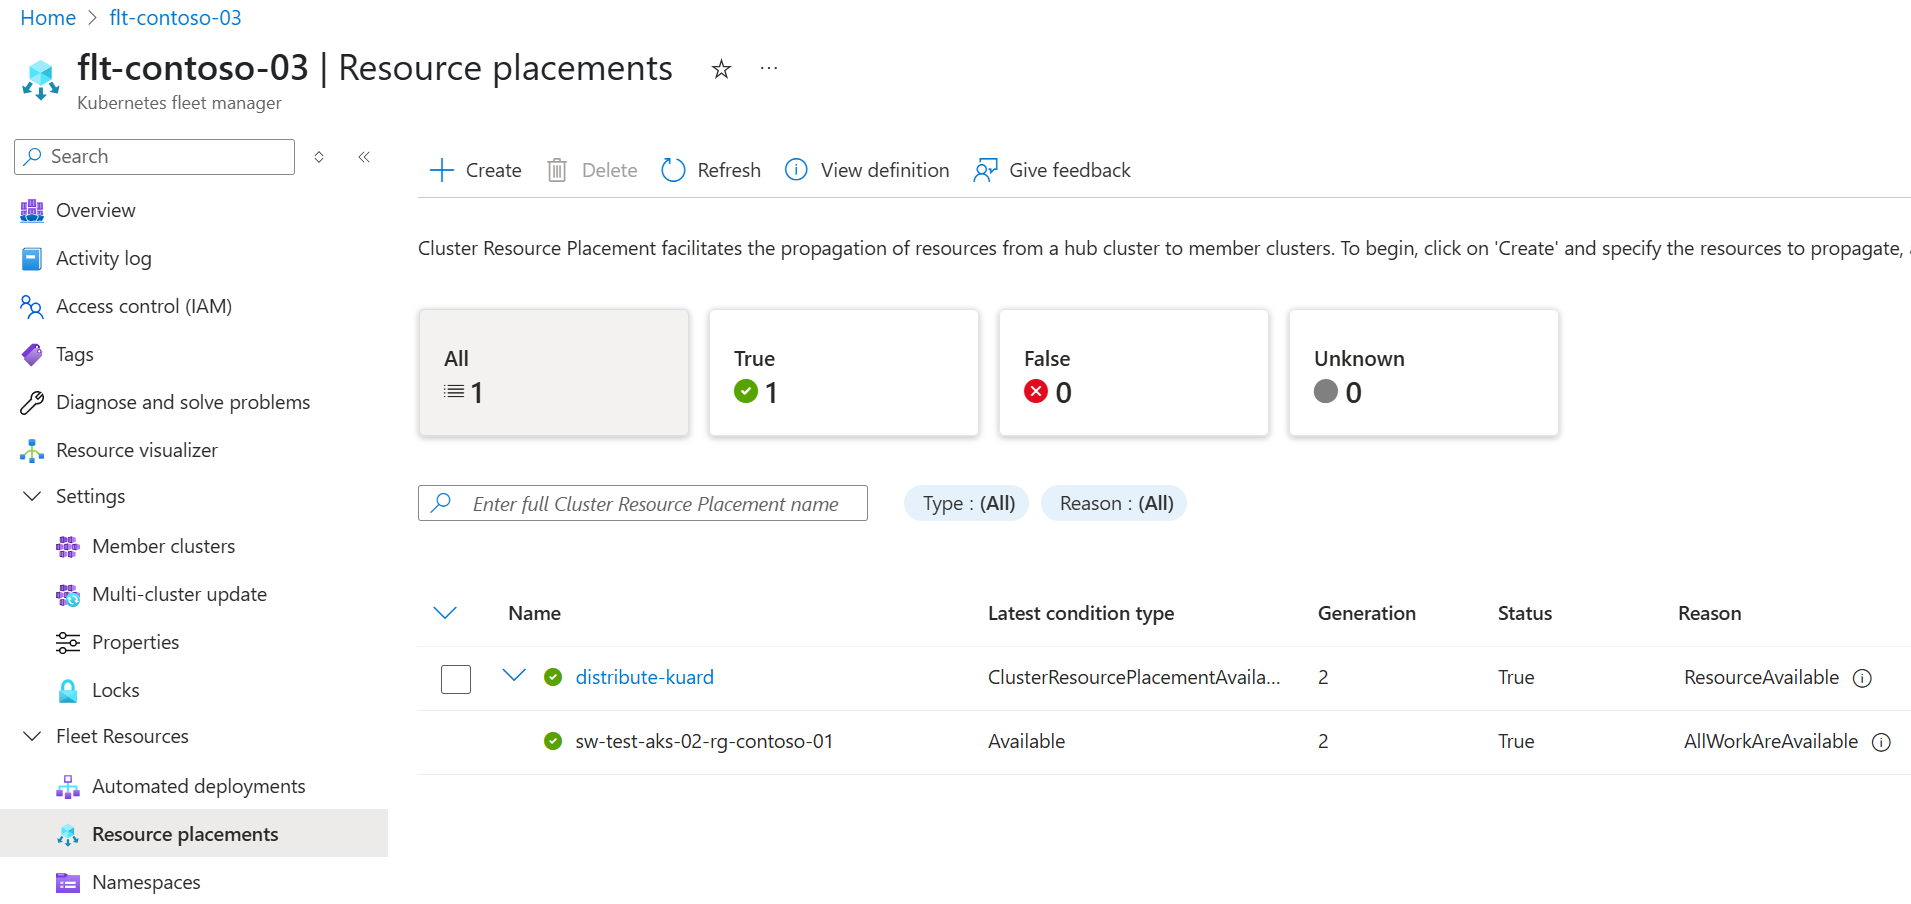
Check the workload is placed according to the policy defined in the CRP definition. You check either using the Azure portal or
kubectlat the command line.


